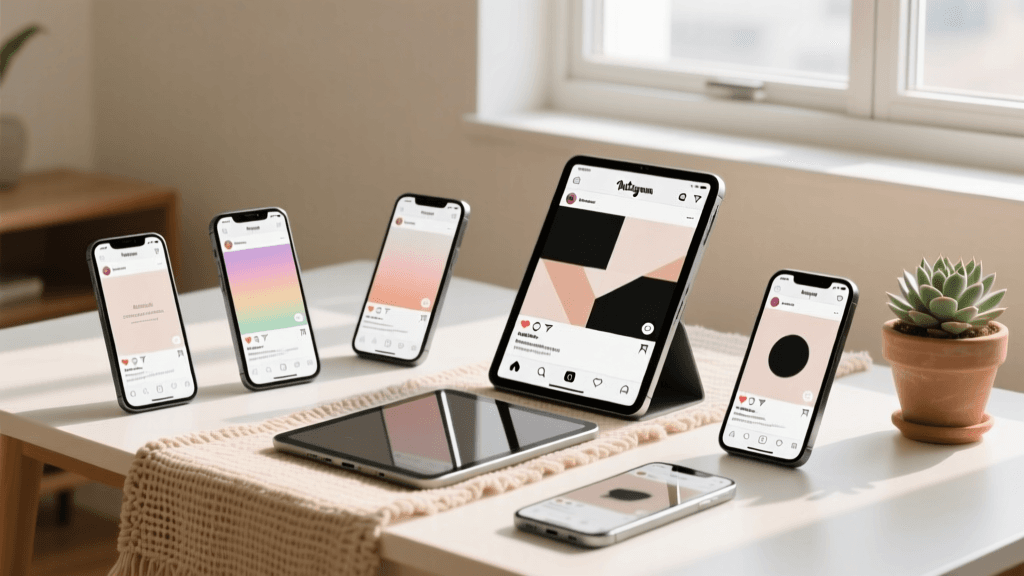
The Power of Your Digital First Impression
Creating your very first Instagram account is an exciting milestone. Whether you are launching a personal brand, showcasing your photography, starting a small business, or simply wanting to connect with a community, your profile is your digital storefront. Before a user ever looks at your posts, reels, or stories, they will look at your profile header. This means your bio is the single most important piece of real estate on your entire account. Learning how to write your first Instagram bio from scratch is not just about filling out a text box; it is about crafting a strategic, compelling introduction that turns casual scrollers into loyal followers and customers.
When you are starting with a blank canvas, the 150-character limit can feel incredibly restrictive. How do you possibly summarize who you are, what you do, and why someone should follow you in just a few lines? The secret lies in understanding the mechanics of the platform, leveraging search engine optimization (SEO), and applying proven copywriting best practices. In this comprehensive guide, we will walk you through every single step of building a highly optimized, visually appealing, and conversion-focused Instagram bio from the ground up.
Understanding the Anatomy of an Instagram Profile
Before you start typing your first draft, it is crucial to understand the different components that make up your Instagram profile header. Your bio does not exist in a vacuum; it works in tandem with your other profile elements to tell a cohesive story.
The Profile Picture
Your profile picture is the visual anchor of your brand. For personal accounts and creators, a high-quality, well-lit headshot where your face is clearly visible works best. For businesses, a crisp, recognizable logo scaled to fit perfectly within the circular frame is essential. Remember that this image appears tiny in the feed and in comment sections, so avoid cluttered designs or text-heavy graphics that become illegible when shrunk down.
The Name Field vs. Username
Many beginners confuse the Name field with the Username (handle). Your Username is your unique identifier (e.g., @yourbrandname) and is used for tagging and logging in. The Name field, however, is bolded, highly visible, and crucially, searchable. This is a prime location for Instagram SEO. Instead of just repeating your brand name, use the Name field to include relevant keywords. For example, instead of just "Jane Doe," use "Jane Doe | Travel Photographer" or "Jane Doe | Vegan Recipes." This ensures that when users search for those specific topics, your profile is more likely to appear in the results.
The Category Label
If you switch to a Professional or Creator account (which is highly recommended for access to analytics and contact buttons), you can select a Category Label such as "Entrepreneur," "Artist," or "Coffee Shop." You can choose to display this label on your profile, which saves you from having to use up your precious 150-character bio limit to explain your basic industry or profession.
The Bio Text Area
This is the core 150-character text box where your personality, value proposition, and formatting skills come into play. This is where you will answer the fundamental questions your visitors have: Who are you? What value do you provide? Why should I stay?
Contact Options and Action Buttons
Professional accounts allow you to add dedicated buttons for Email, Phone, Directions, and even specific action buttons like "Book Now" or "Reserve." Utilizing these built-in features keeps your bio text clean and uncluttered, freeing up characters for more persuasive copywriting.
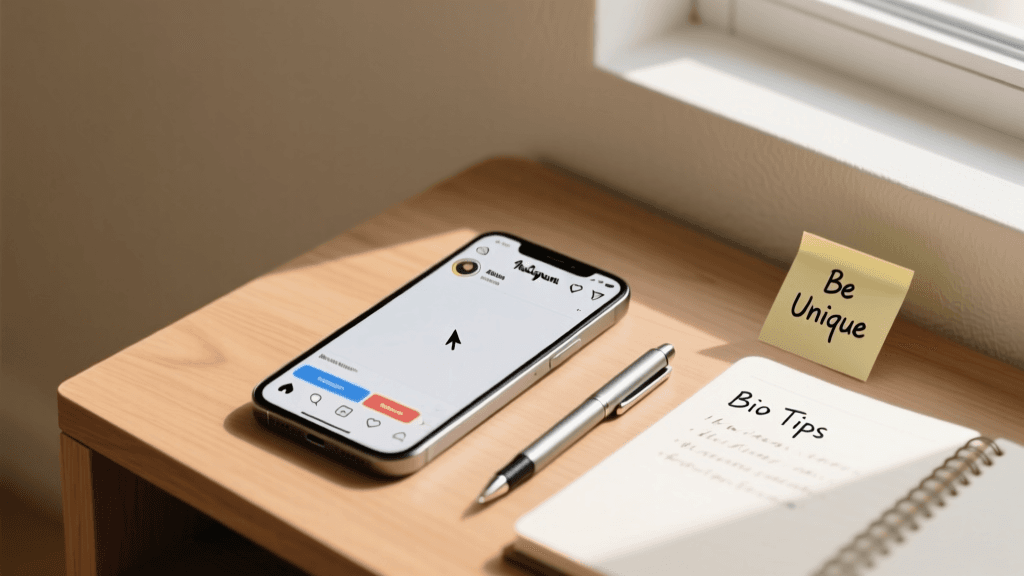
Step-by-Step Guide to Writing Your Bio From Scratch
Staring at a blank text field can induce writer's block. To overcome this, we recommend breaking the process down into manageable, strategic steps. Grab a notebook or open a blank document on your computer, and let's start drafting outside of the app.
Step 1: Define Your Core Identity and Purpose
Before you write a single word, ask yourself what the primary goal of your Instagram account is. Are you trying to drive traffic to an e-commerce store? Are you building a personal brand to land speaking gigs? Are you sharing daily lifestyle vlogs to build a community? Your purpose will dictate the tone and content of your bio. Write down your main objective in one clear sentence. This sentence will serve as your north star as you begin trimming down your ideas to fit the character limit.
Step 2: Identify Your Target Audience
Who are you trying to attract? A local bakery wants to attract nearby residents looking for morning pastries, while a digital marketing consultant wants to attract small business owners looking to scale. Understanding your audience helps you choose the right vocabulary, tone, and emojis. Speak directly to their pain points, desires, or interests. If your audience is corporate professionals, a sleek, minimalist approach with industry terminology might work best. If your audience is Gen Z fashion enthusiasts, a highly visual, aesthetic bio with trending slang and emojis will resonate more.
Step 3: Draft Your Unique Value Proposition (UVP)
Your UVP is the promise you make to your followers. What makes your content or business different from the millions of other accounts on the platform? Start by writing out your UVP without worrying about the character limit.
- Instead of: "I post pictures of my dog."
- Try: "Documenting the chaotic and hilarious life of a rescue Golden Retriever."
- Instead of: "We sell handmade candles."
- Try: "Hand-poured, non-toxic soy candles crafted for cozy nights in."
Step 4: Inject Personality and Tone
Instagram is an inherently visual and personal platform. Even B2B brands benefit from showing a human side. Decide on your brand voice. Are you witty and sarcastic? Educational and authoritative? Warm and encouraging? Let this voice shine through in your word choice. If you are a fitness coach, your tone might be motivational and high-energy. If you are a poet, your tone might be lyrical and reflective. Don't be afraid to include a touch of humor or a quirky personal fact (e.g., "Fueled by iced coffee and 90s hip-hop") to make your bio memorable and relatable.
Step 5: Craft a Compelling Call-to-Action (CTA)
Never assume that visitors will naturally know what to do after reading your bio. You must explicitly tell them. Your CTA should point directly to the link in your bio. Use action-oriented verbs and create a sense of urgency or curiosity.
- "Shop the new summer collection below 👇"
- "Grab my free SEO checklist ⬇️"
- "Listen to the latest podcast episode 🎧"
- "Book your 1-on-1 consultation here ⤵"
Mastering Instagram SEO for Beginners
Search Engine Optimization is not just for Google; it is a vital component of Instagram growth. When you are building your first bio, incorporating SEO best practices will help your account get discovered organically by users who are actively searching for your niche.
Keyword Placement
As mentioned earlier, the Name field is heavily weighted for search. However, Instagram also scans your bio text for keywords to categorize your account. If you are a wedding planner, ensure words like "Weddings," "Bridal," "Events," and your specific location (e.g., "Chicago") appear naturally in your text. Do not resort to keyword stuffing, as it makes your bio unreadable and spammy. Weave them into your UVP and descriptions seamlessly.
Hashtags in the Bio
While you can add hashtags to your bio, their effectiveness has evolved. In the past, users would stuff their bios with hashtags for reach. Today, it is best to use only one or two highly specific, branded hashtags. For example, a fitness brand might use #TrainWithApex to encourage community tagging. Avoid using generic, saturated hashtags like #love or #instagood in your bio, as they provide no SEO value and clutter your limited character space. For a deeper dive into broader profile optimization, check out our comprehensive guide on how to write an Instagram bio.
Alt Text and Accessibility
While not strictly part of the text bio, ensuring your profile is accessible is a mark of a professional account. When you upload your profile picture, take the time to write descriptive Alt Text. Furthermore, when using emojis in your bio, be mindful of screen readers. Placing emojis at the end of lines rather than in the middle of sentences ensures that visually impaired users can understand your core message without the screen reader interrupting the flow with repetitive emoji descriptions.
Formatting, Aesthetics, and Readability
A massive wall of text is intimidating and difficult to read, especially on mobile devices where the majority of Instagram users are browsing. Mastering formatting is what separates amateur profiles from professional ones.
The Art of Line Breaks
Instagram's native text editor can be notoriously finicky when it comes to preserving line breaks. If you type your bio directly into the app and hit "return," you might find that all your text smushes together into one long paragraph once you hit save. To guarantee perfect line breaks:
- Open the Notes app on your smartphone.
- Type out your bio exactly how you want it to look, using the return key to create distinct lines.
- Copy the text.
- Open Instagram, go to Edit Profile, and paste the text into the bio box.
Using Emojis as Visual Anchors
Emojis are fantastic for breaking up text, adding splashes of color, and acting as bullet points. They convey emotion and context without using up valuable characters. However, use them strategically. Choose 2-3 emojis that align with your brand colors or theme and stick to them for consistency. For example, a plant shop might use 🌿 and 🪴, while a tech reviewer might use 📱 and 💻. Aligning your emojis at the start of each line creates a clean, organized list that is highly satisfying to read.
Choosing an Aesthetic Direction
Your bio sets the tone for your entire grid. If your photos are dark, moody, and cinematic, a bio filled with bright yellow smiley faces will create a jarring disconnect. Ensure your bio's typography style, emoji choices, and overall vibe match the visual aesthetic of your content. Whether you lean towards a highly curated, editorial look or a raw, unfiltered documentary style, your bio should feel like a natural extension of your visual identity.
Real-World Examples and Breakdowns
To help you visualize these concepts, let's break down a few examples of highly effective bios across different account types. Notice how they maximize space, utilize SEO, and drive action.
The Personal Brand / Freelancer
Name: Sarah Jenkins | Copywriter
Bio:
B2B SaaS copywriter turning complex tech into clear conversions ✍️
Helped 50+ startups scale their MRR 📈
Currently accepting Q3 clients ⬇️
Why it works: The Name field is optimized for SEO ("Copywriter"). The first line states her exact niche and UVP. The second line provides social proof (50+ startups). The final line is a clear, urgent CTA pointing to her booking link.
The Local Small Business
Name: The Daily Grind Coffee
Bio:
☕️ Specialty coffee & fresh pastries in Austin, TX
🌱 100% ethically sourced, organic beans
🐶 Dog-friendly patio open daily!
Order ahead for pickup 👇
Why it works: Excellent use of local SEO ("Austin, TX"). Emojis act as clean bullet points. It highlights key selling points (ethically sourced, dog-friendly) that appeal to the local demographic. The CTA drives immediate revenue through online ordering.
The Digital Creator / Influencer
Name: Alex | Budget Travel
Bio:
Exploring the world on less than $50/day 🌍
🎒 Backpacking tips, hidden gems & cheap flights
📸 Shot on Sony A7IV
Grab my ultimate packing guide 🎒⬇️
Why it works: Immediately hooks the target audience (budget travelers). Lists exactly what type of content followers can expect. Includes a niche detail (camera gear) that appeals to photography enthusiasts. The CTA offers a lead magnet (packing guide) to capture emails.
Common Mistakes to Avoid
As you craft your first bio, be vigilant against these common pitfalls that can sabotage your profile's conversion rate.
- Using a link as raw text: Never type "www.mywebsite.com" into your bio text. It is not clickable. Always use the dedicated Website/Link field provided by Instagram so users can tap it directly.
- Being too vague: Phrases like "Living my best life" or "Dreamer & Doer" do not tell a stranger what your account is actually about. Unless you are already a global celebrity, you need to clearly state your niche.
- Ignoring the CTA: If you have a link in your bio but do not tell people to click it, your click-through rate will plummet. Always contextualize your link.
- Overusing custom fonts: Third-party font generators can make your bio look unique, but they are often unreadable on certain devices, and screen readers cannot parse them, making your profile entirely inaccessible to visually impaired users. Stick to Instagram's native text.
- Leaving it blank: A blank bio signals to users that the account is inactive, a bot, or a spam profile. Always fill it out, even if it is just a simple, minimalist description.
Tools to Accelerate Your Bio Creation
If you have gone through the steps above and are still struggling to find the perfect combination of words, do not be afraid to leverage technology. AI and specialized generators can help you brainstorm angles you might not have considered. You can use our free Instagram bio generator to input your niche, tone, and keywords, and instantly receive dozens of optimized, ready-to-use templates. These tools are fantastic for breaking through writer's block and providing a solid foundation that you can then tweak and personalize to perfectly match your brand voice.
Frequently Asked Questions (FAQ)
How often should I update my Instagram bio?
Your core UVP and branding should remain relatively stable, but you should update your bio's CTA and promotional lines regularly. If you are launching a new product, hosting a webinar, or releasing a new podcast episode, update your bio to reflect that current focus. Many successful creators update their CTA weekly to keep their profile dynamic and drive traffic to their latest offerings.
Can I use multiple links in my Instagram bio?
Instagram natively allows up to five links in the link section of your profile. However, using a dedicated "link in bio" tool (like Linktree or a custom landing page on your own website) is often a better strategy. It allows you to track click analytics, customize the visual experience, and house an unlimited number of links without cluttering your main profile header.
Should I use a personal or professional account for my first bio?
If you are building a business, a brand, or a creator platform, you should absolutely use a Professional (Creator or Business) account. This gives you access to crucial analytics, the ability to add contact buttons (saving bio characters), and the option to add a Category Label. Personal accounts are best reserved for private profiles meant only for close friends and family.
Do hashtags in the bio help me get more followers?
Historically, hashtags in the bio were thought to boost discoverability. However, current Instagram algorithms prioritize keywords in the Name field and bio text over hashtags for profile search ranking. Using one branded hashtag is great for community building, but stuffing your bio with generic hashtags will not significantly increase your follower count and will make your profile look unprofessional.
What if my brand name is already taken as a username?
If your exact brand name is taken, avoid adding random numbers or underscores, as this looks spammy. Instead, add a relevant prefix or suffix. For example, use @ShopBrandName, @BrandNameHQ, @BrandNameOfficial, or @BrandNameStudio. Ensure your actual Name field still contains your exact brand name for SEO purposes, and keep your handle as clean and memorable as possible.
Final Thoughts on Starting From Scratch
Writing your first Instagram bio from scratch is a rite of passage for every digital creator and business owner. It requires a delicate balance of creativity, strategic thinking, and technical optimization. By understanding the anatomy of the profile, defining your unique value, mastering formatting, and implementing SEO best practices, you can transform a blank text box into a powerful marketing asset. Remember that your bio is a living document. Do not be afraid to experiment, test different calls-to-action, and refine your message as your brand evolves. With the right foundation, your Instagram bio will not just introduce you to the world—it will actively work to grow your audience and achieve your digital goals every single day.